How to Prepare for a Home Inspection When You Are Selling
Seller's guide to home inspection preparation. What inspectors look for, documents to have ready, and tips to avoid costly repair credits and renegotiations.
By the Real Estate Ledger Team
The buyer's home inspection is the single most common deal-breaker in residential real estate. According to the National Association of Realtors, Realtors recommend buyers get a home inspection in nearly 99% of transactions, and 84% of buyers follow through. What the inspector finds — and how they present it — shapes whether the deal moves forward, stalls in renegotiation, or collapses entirely.
Preparing for a home inspection is not about hiding problems. It is about demonstrating that your home has been maintained, ensuring the inspector can do their job efficiently, and having documentation ready that answers questions before they escalate into objections. Sellers who invest a weekend of preparation and organize their home inspection preparation materials consistently report smoother closings and smaller concession requests.
This guide covers what to fix, what to document, and what to have ready for a home inspection that keeps your sale on track.
What Home Inspectors Actually Evaluate
Before you can prepare, you need to understand the scope. A standard home inspection, as defined by the American Society of Home Inspectors (ASHI), covers the following systems and components:
- Structural elements: Foundation, framing, floors, walls, ceilings, roof structure
- Exterior: Siding, trim, windows, doors, decks, porches, driveways, grading and drainage
- Roofing: Shingles or membrane, flashing, gutters, downspouts, skylights, chimneys
- Plumbing: Supply lines, drain/waste/vent systems, water heater, fixtures, water pressure
- Electrical: Service panel, wiring, outlets, GFCI/AFCI protection, grounding, smoke detectors
- HVAC: Heating system, cooling system, ductwork, thermostats, ventilation
- Interior: Walls, ceilings, floors, doors, windows, stairs, railings
- Insulation and ventilation: Attic insulation, vapor barriers, bathroom and kitchen ventilation
- Fireplaces and chimneys: Damper operation, firebox condition, chimney cap and flue
The inspector is not looking for cosmetic flaws. They are evaluating functionality, safety, and material defects. Understanding this distinction is your first home inspection preparation tip: focus your energy on systems and safety, not paint and staging.

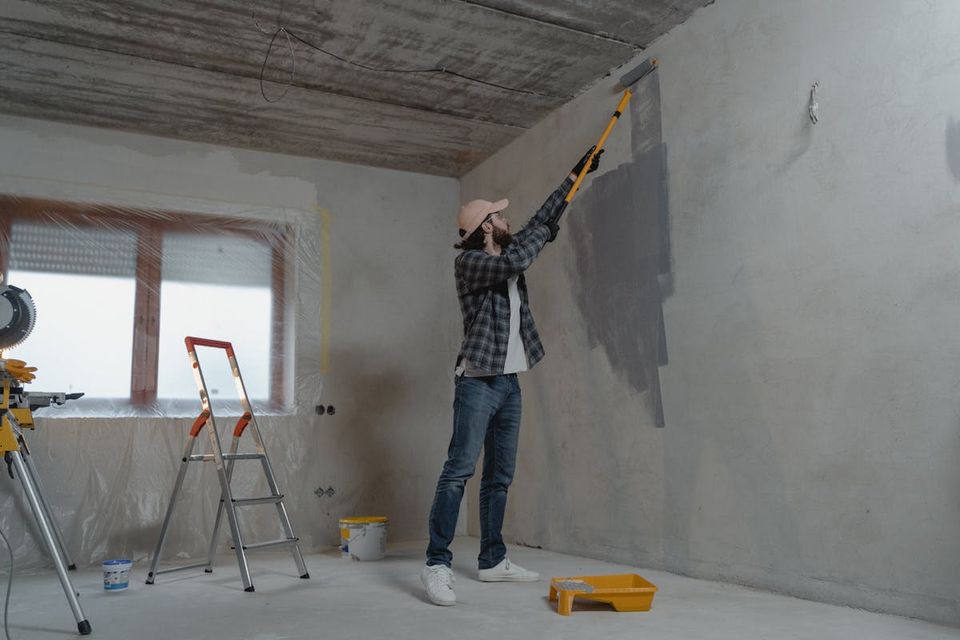
Two Weeks Before: Fix What You Can
Addressing minor issues before the inspection prevents them from appearing on the report and becoming negotiation leverage for the buyer. Here is a prioritized checklist based on the most commonly flagged items:
Electrical: Replace burnt-out bulbs, test and reset GFCI outlets, ensure all outlets have cover plates, verify smoke and CO detectors have fresh batteries.
Plumbing: Fix dripping faucets and running toilets, check under sinks for leaks, clear slow drains, confirm water heater is set to 120 degrees Fahrenheit or below.
HVAC: Replace the air filter, verify the system runs in both heating and cooling modes, clear debris from around the outdoor condenser (maintain 2 feet of clearance).
Exterior: Clean gutters and downspouts, repair cracked caulk around windows and doors, fix loose siding, trim vegetation back from the house by at least 12 inches.
General: Address visible water stains on ceilings (document the cause and repair), ensure doors and windows operate and lock properly, replace cracked window panes, repair loose handrails.
According to Redfin's home inspection checklist for sellers, a pre-listing inspection can help sellers identify key issues that, when addressed before listing, increase the home's value and prevent surprises during the buyer's inspection.
Inspection Day: What to Have Ready
Physical preparation is only half the equation. What you have ready for the home inspection in terms of documentation can be equally decisive. Inspectors work faster and report more favorably when they can verify service history rather than speculate about it.
Documents to have accessible (printed or digital):
| Document Category | Specific Records | Why It Matters |
|---|---|---|
| HVAC service records | Annual maintenance invoices, filter change log | Proves system is maintained, not just functioning |
| Roof documentation | Installation date, warranty, inspection reports | Addresses the single most expensive potential finding |
| Plumbing and electrical | Any repair or upgrade invoices, permits | Shows code compliance and professional work |
| Pest control records | Treatment history, termite bond if applicable | Addresses a top buyer concern, especially in humid climates |
| Appliance warranties | Coverage terms, claim history | Demonstrates transferable protection for the buyer |
| Renovation permits | Building permits and final inspection sign-offs | Proves work was done to code with municipal approval |
A seller in Tampa had their entire HVAC system flagged as "age unknown, recommend further evaluation" despite having it replaced just four years earlier, because the installer's sticker on the unit had faded beyond legibility and the seller had no records on hand. A single invoice would have eliminated the finding entirely.
A contrasting example shows the power of preparation. A couple selling their three-bedroom ranch in suburban Atlanta assembled a documentation binder before their first showing: seven years of annual HVAC service invoices, the 2019 roof replacement warranty and permit, plumbing camera scope results from 2022, and dated photos of every system label. When the buyer's inspector noted "roof appears to be aging" and "HVAC age could not be verified from unit labels alone," the listing agent handed over the binder. The buyer's repair request came back at $800, limited to a minor electrical outlet issue, in a market where similar homes in the neighborhood averaged $9,000 in post-inspection concessions.
For a thorough approach to organizing these records well before listing day, our homeowner document checklist covers every category a prepared seller should have in order. To understand how documentation directly affects your bottom line at closing, see our guide on how to increase home value with documentation.
Ensure Full Access to Every Area
Inspectors must access the attic, crawl space, electrical panel, HVAC equipment, water heater, and all rooms. Blocked access results in "unable to inspect" notations that alarm buyers.
Clear paths to the attic and crawl space, remove items blocking the electrical panel (3-foot clearance required by code), move storage from around the water heater and HVAC equipment, unlock all outbuildings and gates, and arrange for pets to be elsewhere. Leave the home clean, well-lit, and accessible, then depart for the 2-4 hours the inspection typically takes.
The Pre-Listing Inspection: A Proactive Alternative
Rather than waiting for the buyer's inspector, consider ordering your own pre-listing inspection. According to Rocket Mortgage's guide to home inspection costs, the national average runs $350-$500 depending on home size and location. You control the narrative by repairing issues on your own timeline. You set realistic expectations by disclosing known conditions and pricing accordingly. And you reduce renegotiation leverage, because when buyers find "surprises," emotional reactions often exceed actual costs.
According to HomeLight, a pre-listing inspection builds trust with buyers and helps sellers address issues that increase value when fixed before listing. For negotiation-focused strategies, our guide on how to avoid inspection credits when selling complements the preparation work covered here. If you do not yet have a consistent system for logging service calls and repairs, our home maintenance log template gives you a structured format to start building that history today.
Preparation Beats Perfection
No home passes inspection without a single finding, not even new construction. The goal is not a flawless report; it is a report that shows a well-maintained home with no surprises. Buyers expect minor issues. What they do not tolerate is evidence of neglect or deferred maintenance. Thirty minutes of preparation and a well-organized set of records can mean the difference between a smooth closing and a $15,000 credit request. Start preparing the moment your home hits the market, or better yet, long before.
Frequently Asked Questions
How long does a home inspection typically take?
A standard inspection takes 2-4 hours depending on the home's size, age, and condition. The inspector examines all accessible areas and typically provides a written report within 24-48 hours.
Should I fix everything the inspector finds before negotiating?
Focus on safety issues and material defects affecting livability or insurability. Cosmetic issues and normal wear are generally not worth repairing. Your agent can advise on which items buyers negotiate over in your local market.
Can a home inspection kill a deal?
Inspections more commonly lead to renegotiation than cancellation. Deals fall apart when inspections reveal major, unexpected issues — foundation problems, extensive water damage, or mold — exceeding the buyer's repair budget. Thorough preparation dramatically reduces this risk.
What is the difference between a home inspection and an appraisal?
An inspection evaluates physical condition and functionality. An appraisal determines market value for the lender. Both happen during due diligence but serve different purposes and are conducted by different professionals.
Do I need to disclose the results of a pre-listing inspection?
In most states, once you are aware of a material defect, you must disclose it. This is actually an advantage: proactive disclosure builds trust and reduces post-sale legal disputes. Disclosure requirements vary significantly by state, so always consult a real estate attorney in your jurisdiction before deciding what to share and how to frame it.
Be Inspection-Ready From Day One
Real Estate Ledger helps you maintain an always-current record of every service call, repair, and system update tied to your property. When the inspector arrives, generate a complete property documentation package — HVAC service history, roof warranty details, renovation permits, and more — organized by system and ready to present. No last-minute scrambling through drawers and email inboxes. Get started free for up to 10 properties — no credit card required.
Get started freeRelated Guides
The Home Inspection Documentation Playbook: What to Keep, Request, and Organize
Procedural guide to home inspection records: what to keep, what to request from the inspector, and how to organize findings for insurance and resale.
11 min readHow to Organize Home Maintenance Records in 5 Practical Steps
Organize home maintenance records with a 5-step system. Covers categorization, digital filing, and maintenance logs that protect your home's value at resale.
6 min readProof of Ownership Documents for a House: What Every Homeowner Needs
Every proof of ownership document for a house: deed, title policy, mortgage, tax records, insurance, survey. What each one proves and when to use it.
7 min readThe Best Home Maintenance Schedule App in 2026 (Honest Picks)
We tested every major home maintenance schedule app. Honest picks for Cozi, HomeZada, Homer, Dwellin, and Oply, plus the document layer they all miss.
12 min read